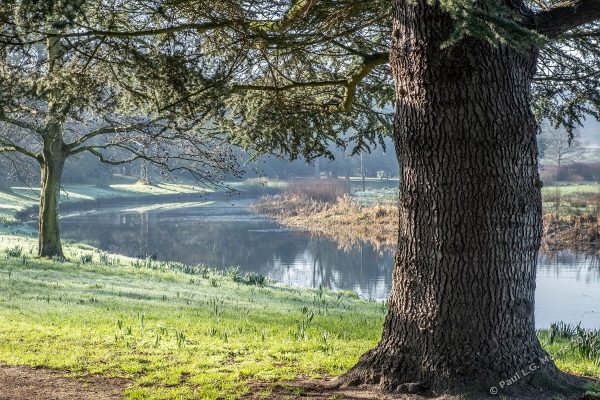
A couple of days age we made another visit to the Nation Trust property at Shugborough. It was a fine frosty morning with some light fog and mist but by the time we got there most of the fog had lifted. But it did provide me with the opportunity to take photos of the landscaped grounds. Here are a few of those I took. First is a view not far from the visitor entrance and is of a large pond by the stables block:
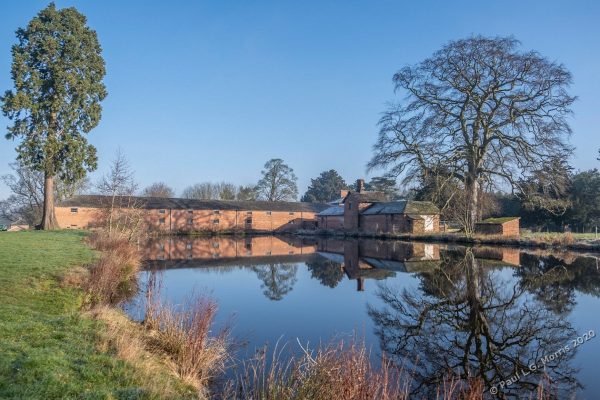
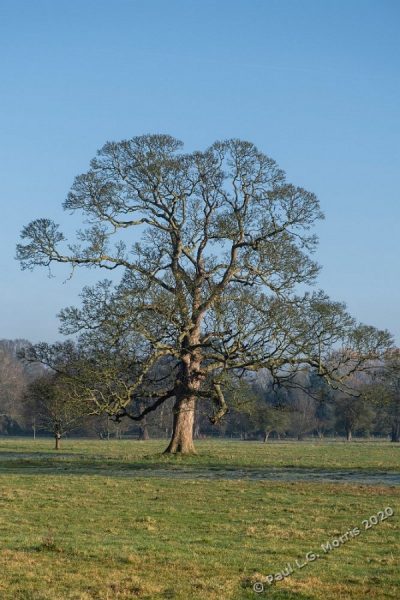
You can see what a brilliant, still day it was – the sky really was a deep blue! Walking through the park to the mansion you can see many fine specimen trees – this is an example:
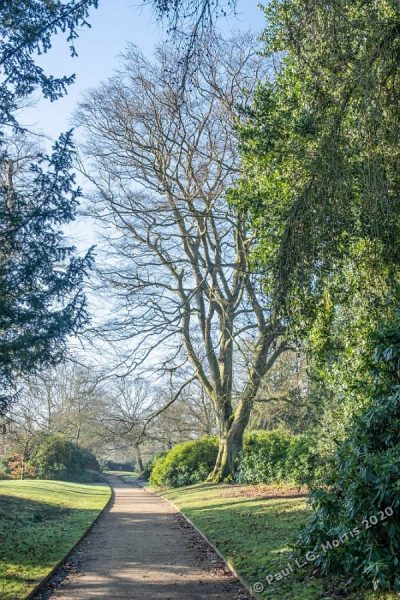
From the mansion we followed a path on a circular tour that leads through the arboretum. Below is a view along the path not far from the house:
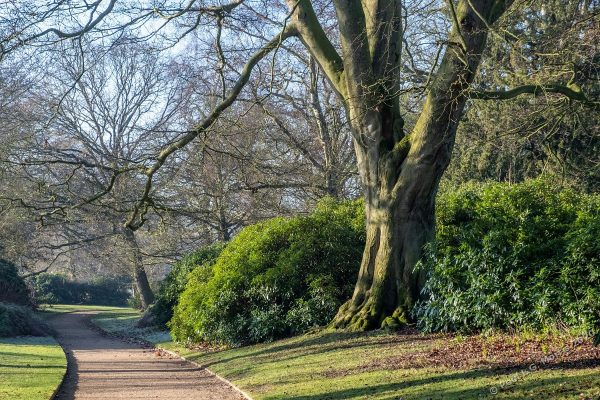
Below is another view from the same location – I couldn’t decide which one I liked best:
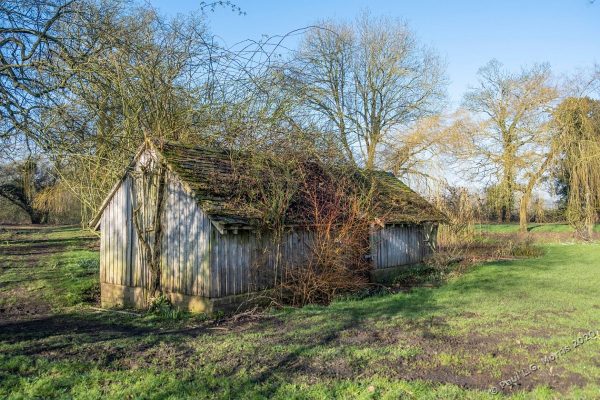
Further along we came across an old boathouse that had seen better days:
The river flowing through the grounds is the River Sow (which flows through Stafford). Where it meets the larger River Trent there is the medieval Essex Bridge:
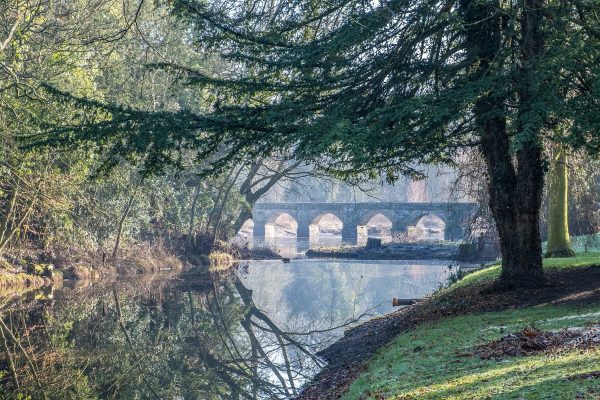
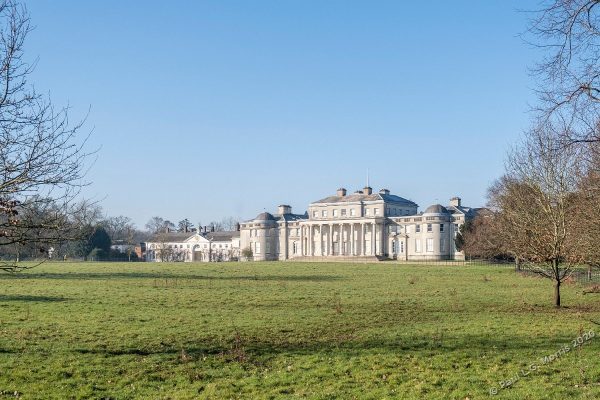
There is just a slight sense of mist here. Looping back towards the mansion we had this view:
Finally, walking along the river at the rear of the house was this – my favourite photo of the day:
