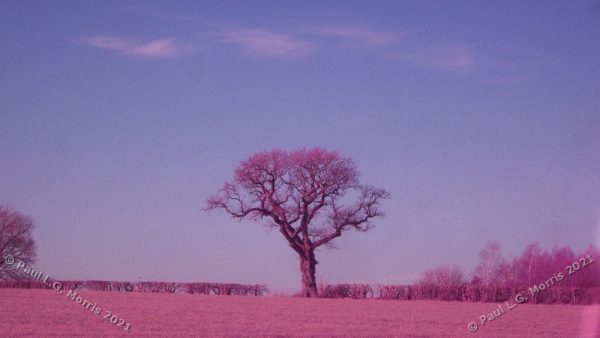
I was a little disappointed with the B&W results of using the camera ‘full spectrum’ (this means it is open to all wavelengths of light from the near infra-red, through the visible range to the near ultra-violet). I purchased a set of infra-red transmission filters for 4 different wavelengths – these pass a narrow band of IR light. This has made quite a difference as you can see below:
First the full spectrum image:
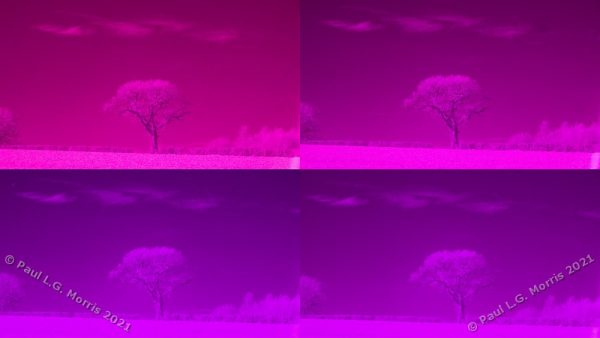
The wavelengths of each filter are: 720nm, 760nm, 850nm, 950nm.
In the following images I have converted them to B&W using similar settings – I couldn’t do the same settings as the exposures are different:
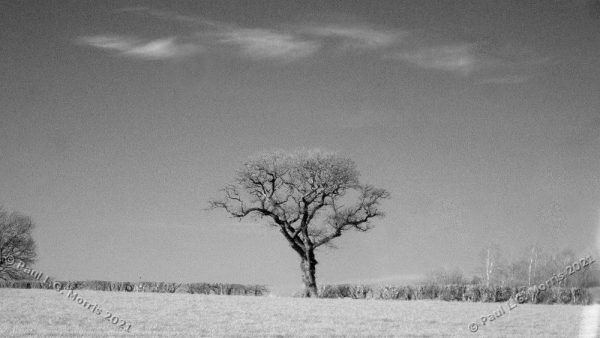
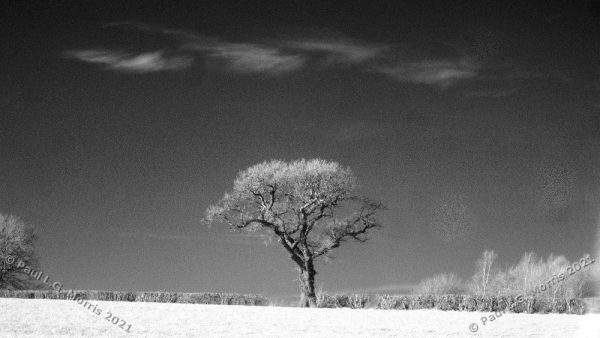
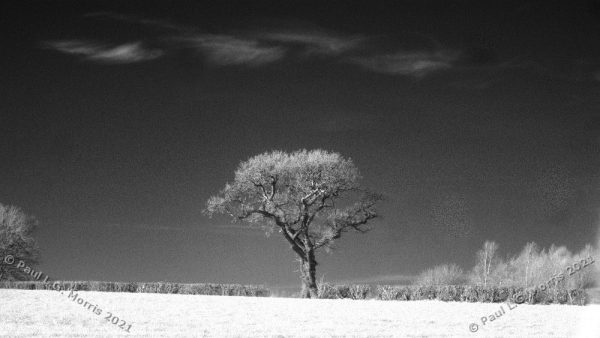
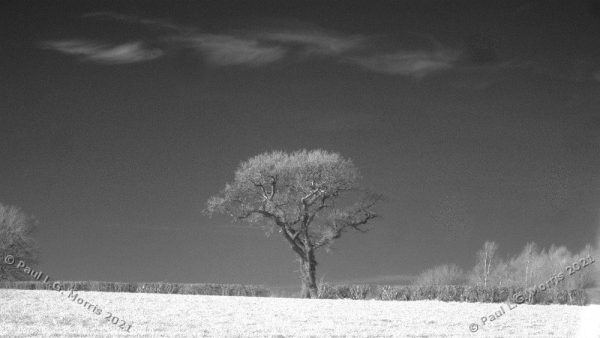
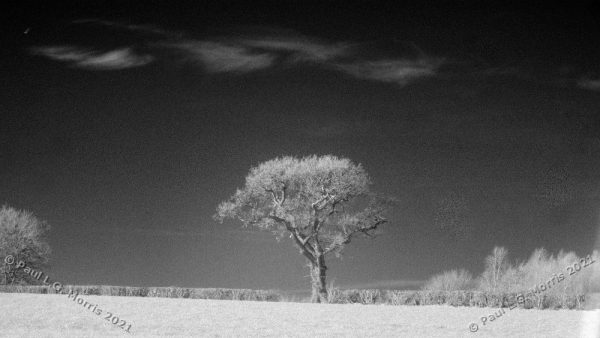
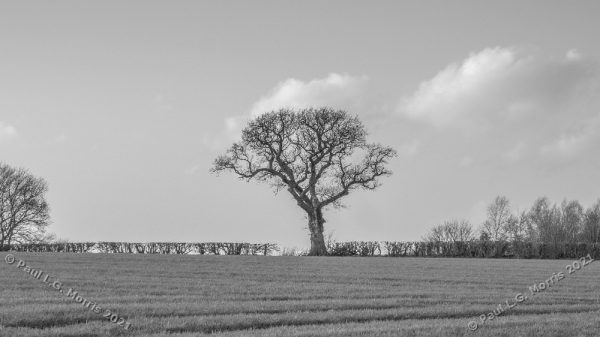
As you can see, the green foliage is lighter with the filters compared to the unfiltered full spectrum. Although the main image is a tree with others to the side, I suspect they are showing lighter shades because the leaf buds are growing (these often show as dark red to the eye). Below is a ‘normal’ photograph taken a few days ago – the trees are darker, no lighter shades. The taking condition is similar – blue sky some light white clouds with bright winter sun:
This is proving to be an interesting exercise – I am learning a lot…
