I have been experimenting with little planet photos using a large tree as the centre of attention. Here is a standard little planet image:
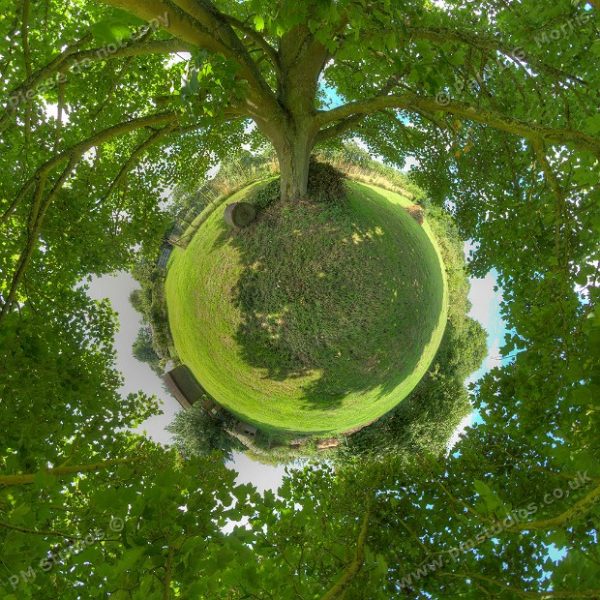
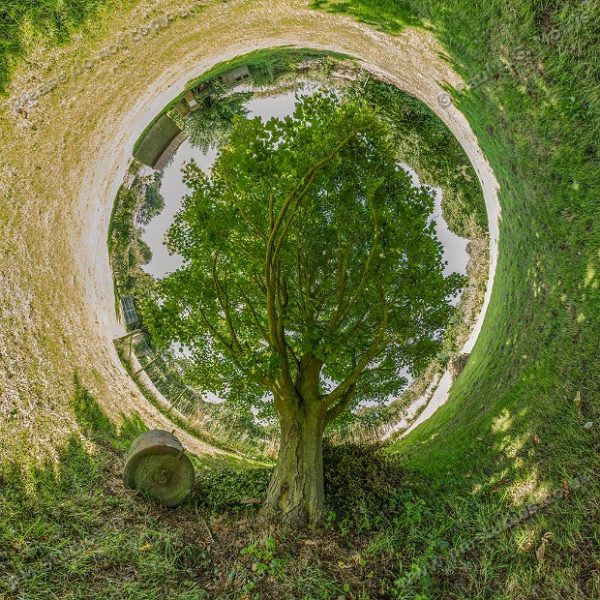
The tree is prominent with the foliage occupying most of the sky area – not surprising as I was standing near the trunk under the extensive branch network. But, like many little planet images the ground forming the centre isn’t very interesting. So I inverted the image:
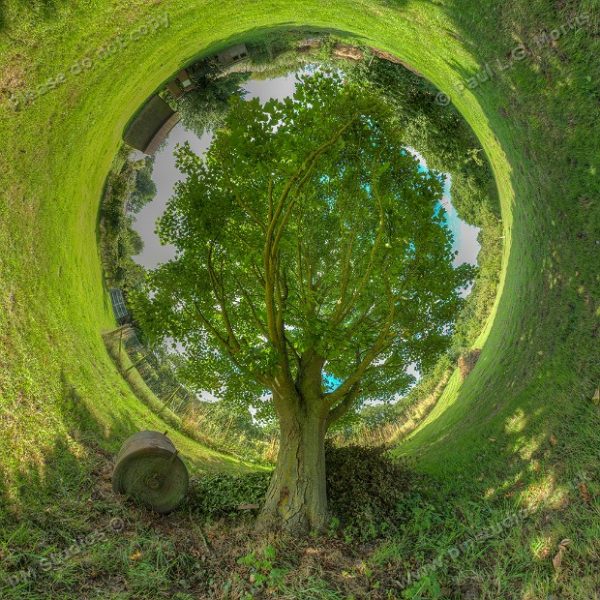
Now, you can see the whole extent of the tree. Without the background you could think it was a normal tree photo but look at the top and you will see the leaves meeting the bushes on the horizon. The ground does seem to form a tunnel but this helps draw the eye to the tree.
I was quite pleased with this in terms of the concept but the exposure needs working on as the sky and clouds are not well reproduced. This was because it was quite dull under the tree but the sun was out and the sky very bright.
I will now get a bit technical!
22 different views were stitched together to provide the image. The above two pictures were processed as follows:
For each of the 22 photos, three exposures were made (making a total of 66 images). These were shot in raw with an exposure difference of 2 stops. The raw was converted to tiff files using Photoshop raw converter. Some exposure, shadow and highlight adjustments were made before exporting the images as tiff files. These tiff files were read into the panorama software to create the little planet. The little planet panorama was saved as both tiff files and jpg files. For the above 2 photos the little planet file was read into Photoshop, had a little minor tweaking of exposure done, then was cropped and resized to provide the above images.
This whole process took some time on my ageing PC…
For comparison, here are a few other versions with different processing:
1. A simple mid exposure jpg:
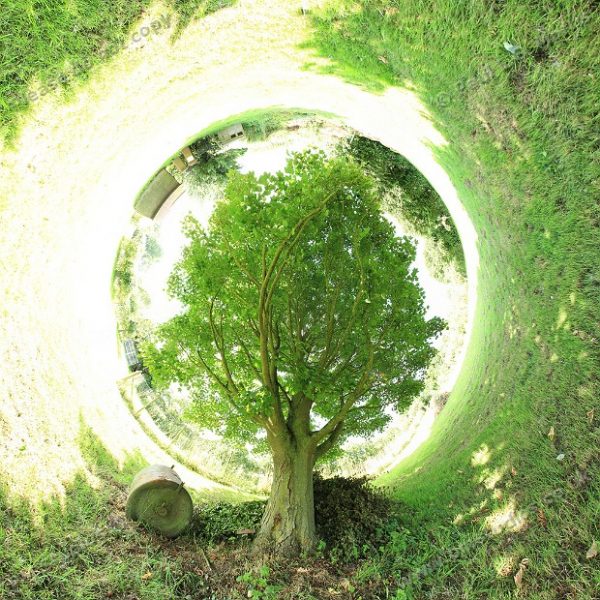
Notice how the highlights are burned out.
2. The middle exposure raw files were converted to jpg before stitching. The highlights are better controlled but are still burnt out:
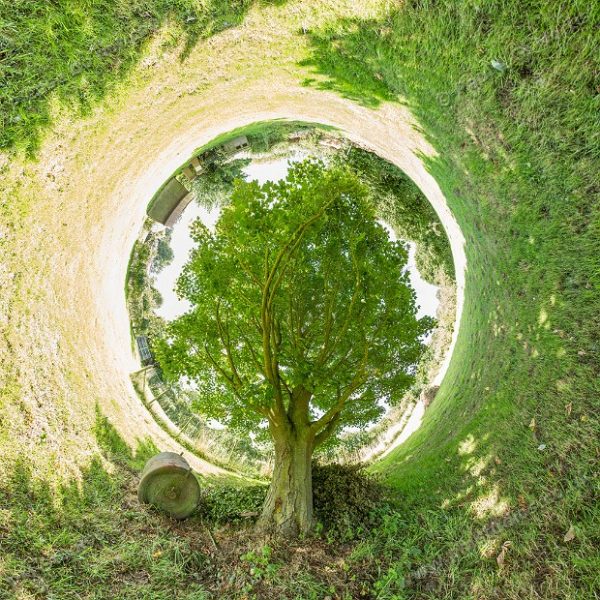
3. Middle exposure raw to tiff. Better still control of highlights but not enough.
Next step is to try 5 exposure bracketed sets, or shoot on a duller day!
