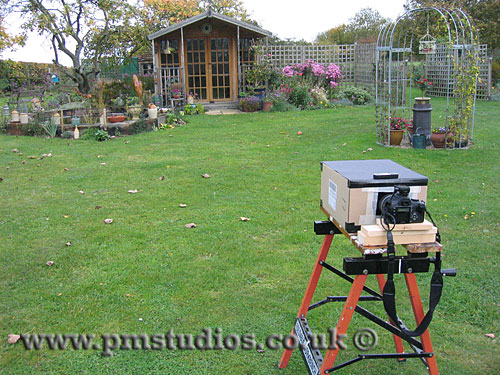
I am trying to get a decent pinhole camera effect using a digital camera:
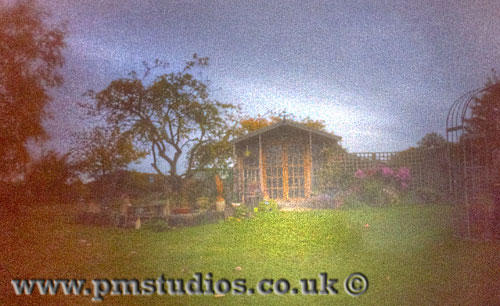 This is the best I have achieved so far. Most pinhole camera techniques is a pinhole of some kind to image directly on the camera sensor. Because of the distance from the pinhole to the sensor was relatively long, this gave a slight ‘telephoto’ image whereas I wanted a wider field of view.
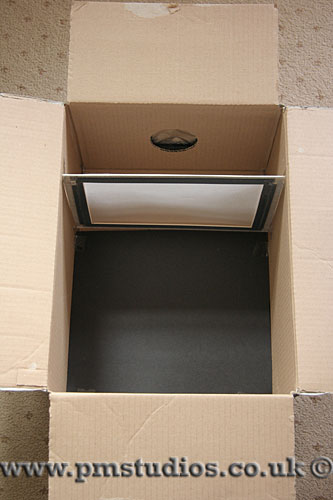
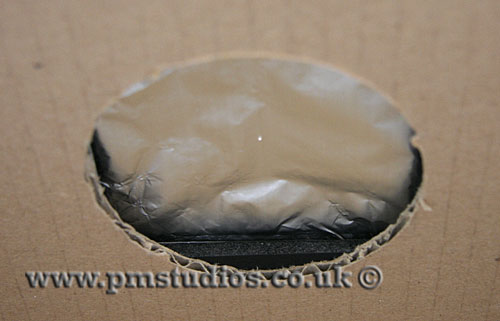
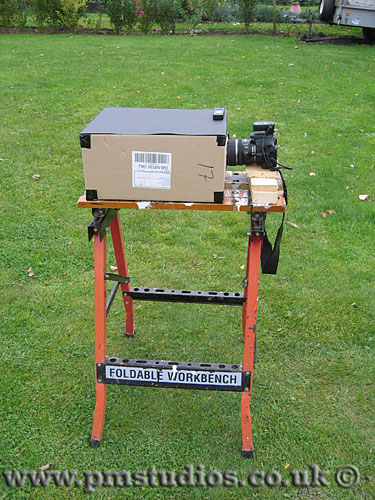
I hit on the idea of using a box to hold an image forming screen, have the pinhole in front projecting the image, and the camera behind recording the image. This did mean exposure times were quite long – 3 minutes at ISO800 in this case.
It did show 2 main problems – there is a falloff in exposure towards the edges (if you were kind you could say it was vignetting!) and the texture of the screen is too harsh – I used tracing paper – perhaps I need to try a ground glass screen.
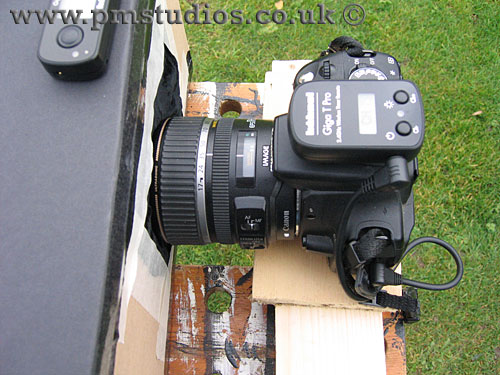
The main other problem that I had was the leakage of light into the box. For these exposures, the brown cardboard box let light through, the black tape on the joints also let light through, and the black velvet material around the camera lens was not light tight. The next version will correct this – I hope!
Below are some photos of the setup:
