Last month I took another panoramic view from my shed roof of the field next door (I am trying to show the changes from sowing to harvest):
This is the end product after a lot of time and effort processing. I had a number of problems with this as I usually use HDRi techniques to process the images that get stitched together. I also used this as an opportunity to try techniques that I have read about.
Using the standard ‘out-of-camera’ jpgs to merge then stitch showed 2 major problems:
- The wind movement in the bushes to both sides of the panorama was excessive.
- The photos didn’t stitch well to form the panorama.
After a lot of trying of different ways of processing I came to the conclusion that the stitching problem lay with the way my camera operated with my new 24mm lens. As this is a new lens on an old camera, I suspected that the camera was unable to fully correct for the lens distortions (the lens not being within the camera’s firmware) and the stitching software couldn’t handle it. The solution to this was to process the images through the maker’s camera raw software which could handle both the camera and lens.
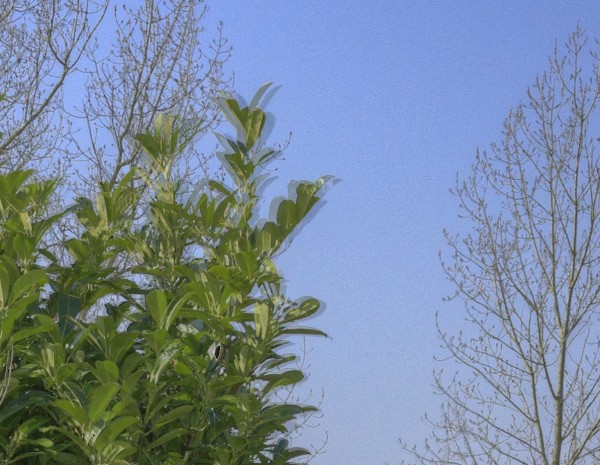
Ghosting (caused by the wind movement) proved more problematic to resolve. This crop shows the problem when using 3 exposures:
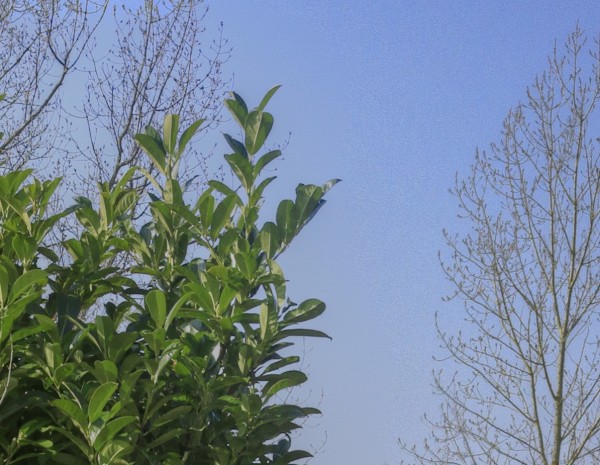
The automatic anti-ghosting routine didn’t work, so I tried a manual selection of the ghosting area using the default (hero) exposure:
The exposure is OK but the sky tones don’t blend well; not shown was the problem with the ghosting area showing a different exposure to the rest of the image on the ground. I tried a number of techniques but all showed a problem or two.
Then I realised that there was a simpler way to handle this. As the dynamic range of this image is not too great, I could use a single exposure. So I used the raw converter to export the full dynamic range of the single, middle image as a 16bit tiff file. This stitched well in the panoramic software; this was then saved as a 16bit tiff. The stitched image was tone mapped in the HDR software and saved as a 16bit tiff. This version was then adjusted in Photoshop using the ‘camera raw’ filter and saved.
A bit of a long route but the final image was what I wanted.


