Now have have my DIY panorama head working for my current compact camera (see the previous post), I have taken some indoor panoramas of houseplants in the conservatory. Here is the first attempt:

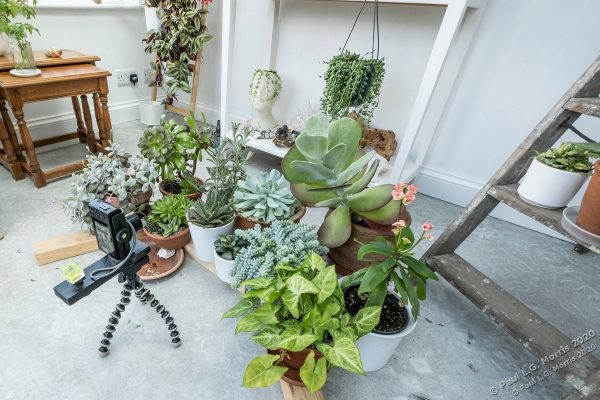
This is the product of 8 images stitched together. Not too bad but I felt I could do better. The set-up was like this:

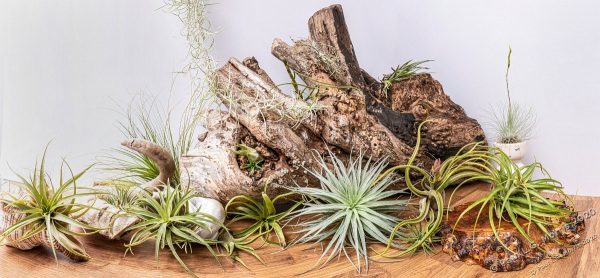
I also tried making a panorama of my wife’s air plants which are overwintering in the utility room. At first this proved to be problematic as a lot of sunlight was reflecting off my car through the window behind the plants. Eventually, after waiting fruitlessly for the sun to go behind a cloud, I got some white cardboard to use as the background. It took 5 photos to create the image. This is the result:

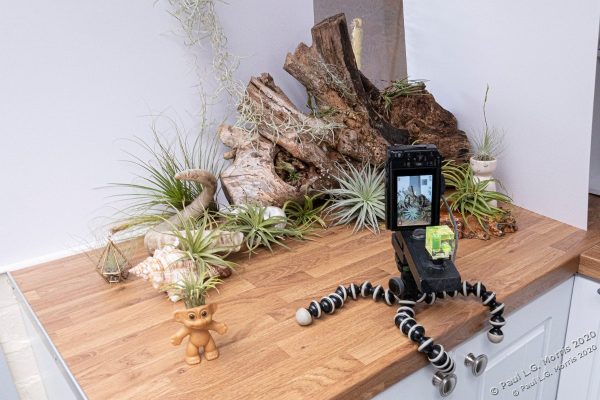
The card to the left side wasn’t quite long enough so I had to move it as I panned the camera around. There is also a join where the card on the right meets the card on the left – this has to be ‘Photoshopped’ out. The setup looked like this:

The following day I tried a 360 degree panorama of the houseplants in the conservatory. This is the first attempt:

This had several problems: Not enough plants, the exposure changing as the sun danced between the clouds and, despite my best efforts, a reflection of me in one of the windows. Later on in the day I made another attempt which was more successful:

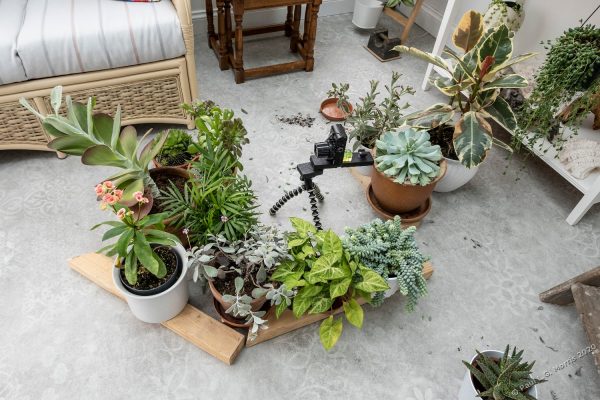
This was the result of stitching 14 images to make the full 360 degree circle. As there wasn’t enough plants to go all the way round I had to move them around between shots as I panned the camera. I was quite pleased with the results although there are a couple of minor issues outstanding. This is what the set-up looked like:

It looks a bit of a mess but it works well. Below is an interactive view that automatically scrolls around. You can also take control and zoom in to the detail or pan around yourself – use the controls on the image. Depending on your browser you can also view full screen (the square control on the right):
